Beading wire is a very versatile, durable, and strong material to use for stringing beads to make jewelry. Learning how to use beading wire will add a valuable skill to your jewelry-making toolbox!
Materials


Tools


Make a Simple Beaded Necklace
1
Plan the Design
The first step in making a necklace with beading wire is to figure out what you want your necklace will look like. Laying out all your beads beforehand makes the stringing beads a cinch. A beading board is quite useful for jewelry design.Note: If you want your necklace to be symmetrical but are not sure how many beads to use, modify the instructions below. String the middle bead first and string outward on both ends to make sure each side is the same. While you are adding beads, you may want to tape the end you are not working on so the beads don’t fall off. You also may want to add another few inches to the length of wire you cut to be on the safe side.
2
Cut the Wire
Cut a piece of beading wire that is the length of the finished piece plus 5 inches (about 20 inches total for a short necklace).3
Add the Clasp
Slide a crimp bead and one part of the clasp onto the beading wire. Slide the beading wire back through the crimp bead, pull it tight, and then flatten the crimp bead so it stays. Trim the excess wire.4
String the Beads
Add the beads of the necklace in the order you laid out in your design.5
Attach Second Half of Clasp
Attach the second half of the clasp, or a jump ring if you’ve used a hook-style clasp. The process is the same as the first half–just be careful to pull the wire snug so you don’t have slack in the necklace. Voila!Jewelry Ideas
Now that you know how to use beading wire, it’s time to start stringing beads together into beautiful creations that you love! Here are some ideas to spark your creativity:
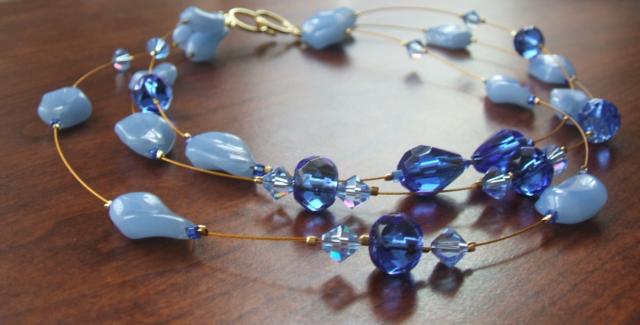
Three Strand Floating Illusion Necklace Project
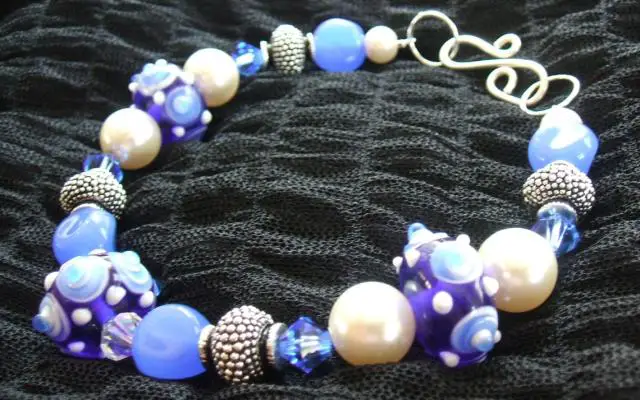
Indigo Mood Bracelet Project
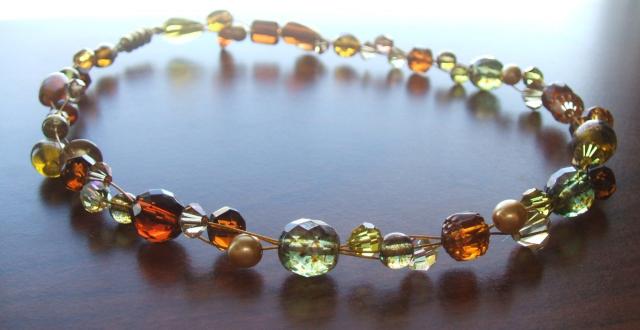
Variable Strand Necklace Project


 | Shop jewelry making and beading supplies, tools & findings for DIY jewelry making and crafts. #jewelrymaking #diyjewelry #jewelrycrafts #jewelrysupplies #beading #affiliate #ad")
 | Shop jewelry making and beading supplies, tools & findings for DIY jewelry making and crafts. #jewelrymaking #diyjewelry #jewelrycrafts #jewelrysupplies #beading #affiliate #ad")