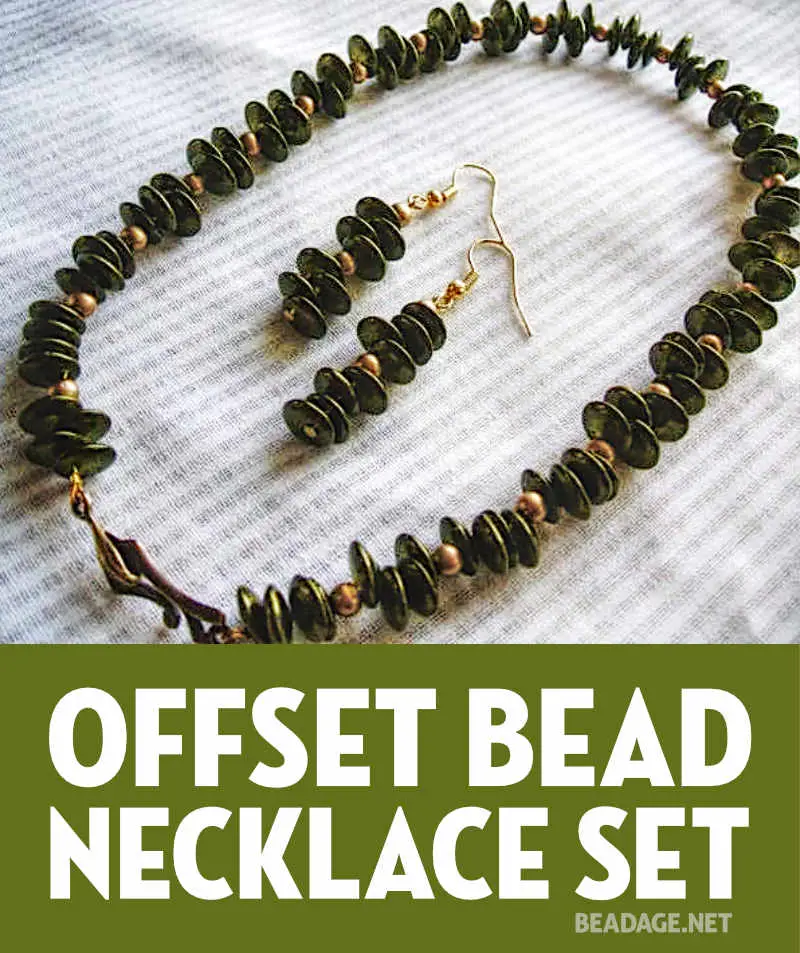
The beads in this necklace caught my eye because I liked the unique way they moved on the bead strand; I thought it created a look of depth and texture and, with this deep olive color, a look of warmth, as well.
This is a simple project that calls for very basic skills; you’ll only need a good dose of patience for stringing these wonderful little beads.
Supplies
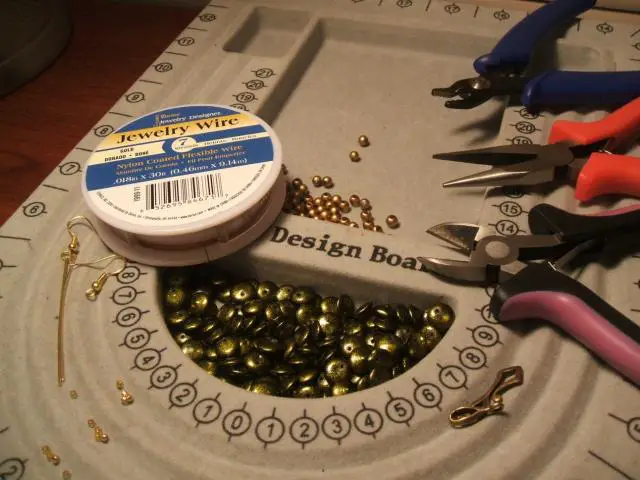
Tools
Materials
- gold beading wire
- gold crimp beads
- two headpins
- two ear-wires
- a gold clasp
- gold spacer beads
- disk/coin beads with offset holes
Techniques
Instructions
I really like the simplicity and continuity of this necklace. When I paired the green disks with the small gold beads, I knew I didn’t want to clutter the look further, so I kept it simple.
Necklace
1
Start With the Clasp
String your beading wire through your crimp bead, then through the eye of one half of your clasp; bring it back down through your crimp bead, pull the wire taut and use your crimping pliers to crimp the crimp bead.2
String Beads
String on your beads in a 4-green-1-gold sequence, until your necklace is as long as you want it to be.3
Finish the Necklace
Finish your necklace the same way you started, adding the other half of your clasp. Using your chain-nose pliers, push the wire tail back through a few beads before snipping it off.Earrings
1
Add Beads to Headpin
Add beads on the headpins in the same 4-green-1-gold sequence – repeat it twice, 4-1-4-1.2
Attach Earwire
Using your round-nose pliers, make a loop at the top of the headpin. Bend it back slightly so it is centered over the headpin. Slip the earwire into the loop and close it.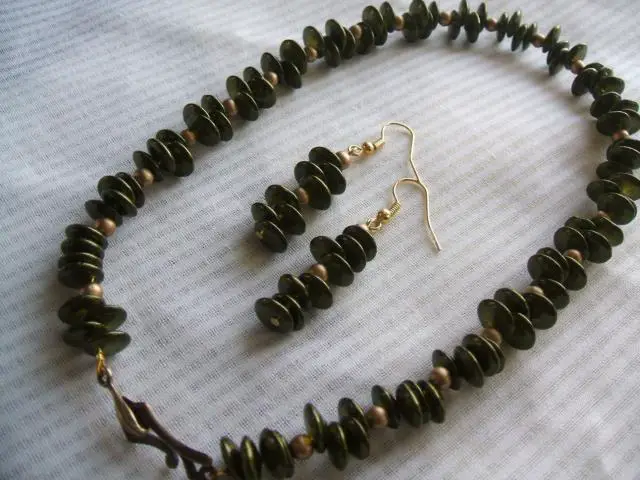


")


")


 Earrings Jewelry Making")
")


, Biggs Picture Jasper Necklace, Jasper Pendant, Pendantlady")


what i’d like to know is where you came across those fabulous olive colored beads in your olive grove necklace and earrings. i can seriously see using those beads in another project i have in mind.
thanks for your help locating them.